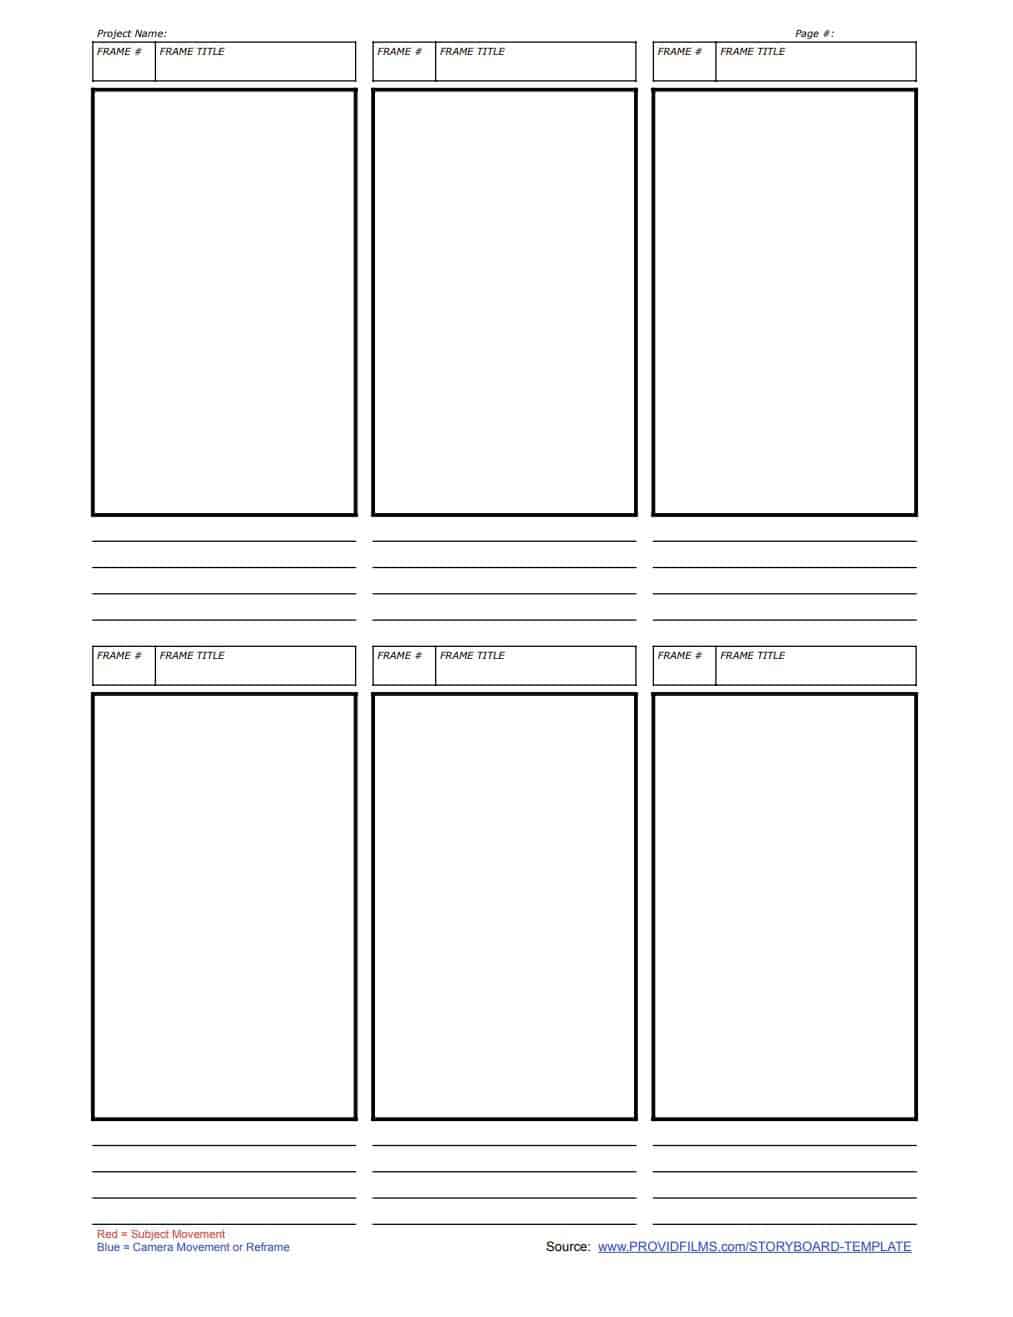
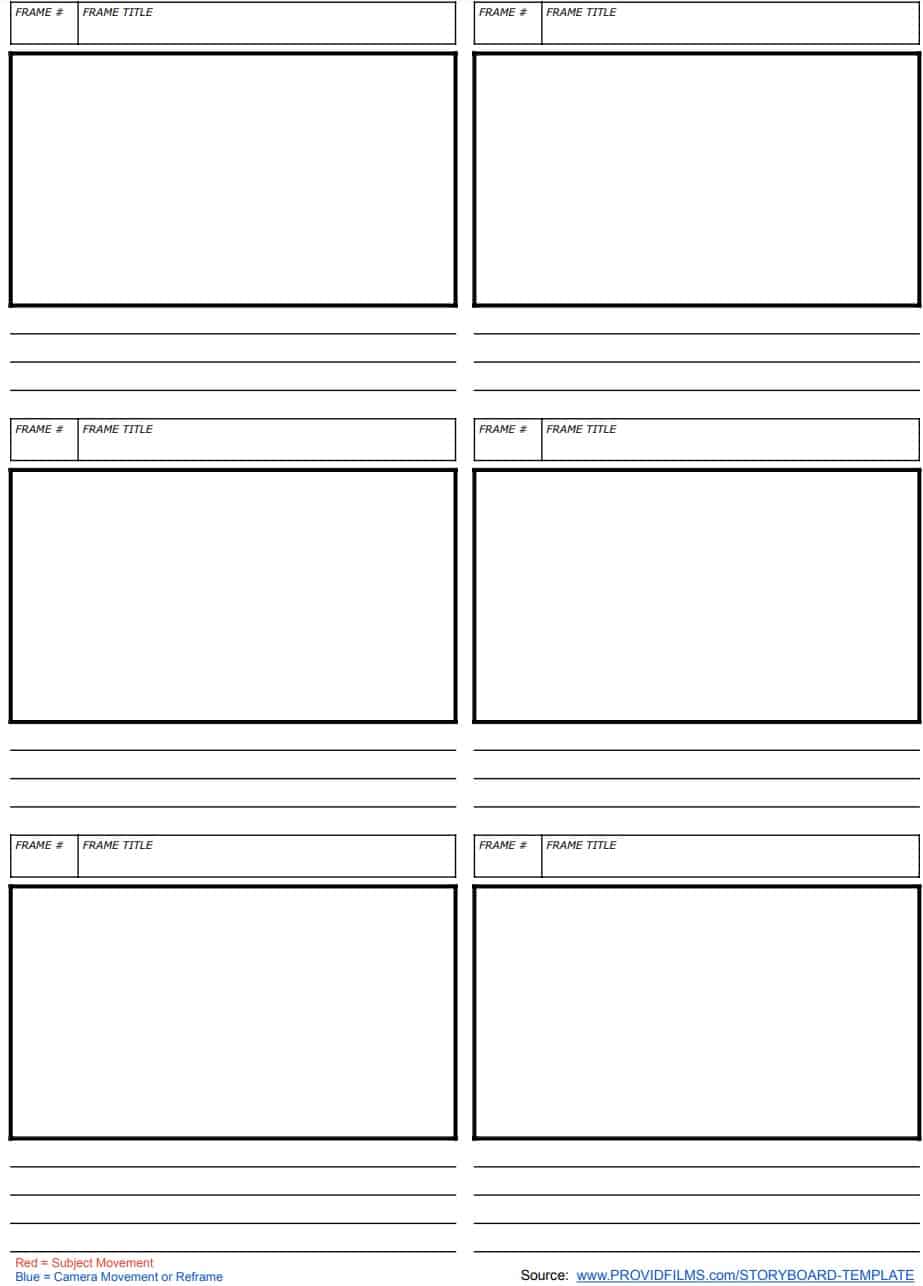
Scroll down for our free printable standard and vertical storyboard templates FREE (also includes our free standard storyboard template).
If you’re new to storyboarding, this article will help you answer some of the most common questions people have:
- What is a storyboard and why is its purpose?
- How do you create a storyboard?
- What are the different elements of a storyboard?
- How do you use a storyboard in the filmmaking process?
- Can a storyboard be used for other types of projects, not just films?
- What are some tips for making a good storyboard?
- How do you present a storyboard to a team or client?
- BONUS SECTION: ALL ABOUT VERTICAL STORYBOARD TEMPLATES!
Overall, they are a simple visual representation of a film, video, or other type of project, showing how the various scenes and shots will be arranged. It is used to plan out the project and help communicate ideas to the team involved in creating it. There are many different ways to create a storyboard, and different elements that can be included, depending on the specific needs of the project.

What is a storyboard and why is it used?
They typically includes sketches or images of each shot, along with notes about the action, dialogue, and other details.
They are used to plan out the project and help communicate ideas to the team involved in creating it. They can be used to visualize the overall structure, plan out the pacing and timing of each scene, and ensure that all necessary shots are included. They can also be used to discuss and refine ideas with the team, and to make any necessary changes before actual filming begins.
We like to say that it’s “always cheaper to fix problems at the storyboard phase than after principal photography is over” (aka. after the camera crews and all the gear “call it a wrap”).
Overall, the main purpose of a storyboard is to provide a clear, visual representation of the project, which can be used to plan and coordinate all aspects of its creation – so that you get client sign off!

How do you create a storyboard?
There are many different ways to create them, and the specific method you use will depend on your personal preferences and the needs of the project.
The technical side isn’t difficult – you could use Google Sheets, print out a sheet, and fill it in by hand with black, red and blue pens. That’s our FAVORITE method as it’s a very hand/mind connection.
There are also digital storyboard methods that are free or paid – one example is https://www.storyboardthat.com/
Another popular site people use when starting out is Canva – though we don’t recommend that unless you just live and breathe Canva.
Beyond the technical making of one, a more important step is the overall process before making one. It’s best to be prepared before you dive in!
- Start by gathering all of the information you have about the project, including the script, any relevant notes or ideas, and any other relevant materials.
- Next, decide on the overall structure of the storyboard. This will depend on the specific type of project you’re planning, but you might want to break it into sections or scenes, or arrange it in chronological order. Our template has scenes, shot and page numbers to stay organized. Printable is below (scroll down) – https://www.providfilms.com/storyboard-template
- Once you have the overall structure in place, begin planning out each individual shot or scene. This may involve sketching out rough images, or using photographs or other visual references to represent each shot. A pencil works great – don’t be afraid of stick figures and outlines.
- As you plan out each shot, add notes or other details to help explain the action, dialogue, and other elements of the scene. This can include things like character movements (we use red), camera angles, and any special effects or other details that need to be included (like camera movement using blue pen).
- When you have completed the storyboard, review it to make sure it accurately represents the project and includes all necessary elements.
An optional step for small businesses or small video projects – is to hire a storyboard artist (also called a visualizer). Some artists are well versed in a specific industry – like advertising or animation work – while others are great at live action films and so forth.
Overall, creating a storyboard involves planning out the structure of the project and then working through each individual shot or scene to create a visual representation of the project. The process can be as simple or complex as necessary, it can be done by hand or on a computer/ipad/phone.
How you make it doesn’t matter as much as just making one.
What are the different elements of a storyboard?
The common elements that are included in most storyboards include:
- Images: The main element is typically a series of images or sketches that represent each shot or scene in the project. These can be hand-drawn or created using digital tools, and may be simple or highly detailed, depending on the needs of the project.
- Notes: Along with the images, they typically include notes or other information to h elp explain the action, dialogue, and other details of that scene or shot. These notes can include things like character movements, camera angles, and any special effects or other details that need to be included. We use red or blue pen to indicate character or camera movements.
- Titles: In addition to the images and notes, you can include titles or other labels to help identify each shot or scene. These can be used to provide a clear, concise description of the action.
- Annotations: Some storyboards may also include annotations or other additional information to help explain the images and notes. This could include things like camera movements, character interactions, or other details that are not immediately obvious from the images alone.
How do you use a storyboard in the filmmaking process?
A storyboard is an essential tool in the filmmaking process because it gets everyone on the same page.
Expectations become crystal clear when everyone knows what’s IN the shot and where the shot edges are.
Beyond the frame by frame benefits – overall here are some more benefits.
- Pre-Production / Writing phase can benefit from visualizing the overall structure of the project: it can be used to plan out the structure of the film, dividing it into sections or scenes and arranging them in the desired order, and just seeing if things have the right flow. This can help to ensure that the film has a clear, cohesive narrative and that all necessary shots are included – from the very beginning of a project.
- Budgeting / planning the shots and action: A storyboard can be used to plan out each individual shot in the film, which means you can start to understand how many elements and variables you’ll need to source for your project. If you notice that this giant wide shot of a scene is actually just 1 second – but you’re tight on budget and time – perhaps you can plan around that shot instead. Cutting that one shot could save hundreds, thousands, or even more. Including the composition, camera angles, and other details, this can help make sure shots are planned out in advance and your filming days go smooth.
- Communicating ideas: A storyboard is a great way to communicate ideas to the team and other stakeholders, as it provides a clear, visual representation of the finished video project. Imagine someone “higher up” that has feedback on the finished video because they didn’t really know what the project was going to look like. If they instead have a “near finished” look of a storyboard – they can sign off on the concept and direction or provide feedback way early on. It can be used to discuss and refine ideas, and to make any necessary changes before actual filming begins.
- Coordinating the team: Time is valuable, precious, limited, and expensive on set. You have the talent, the location, all that gear, the crew, everything sitting there as the clock ticks by. To make sure everyone is on the same page, it can help coordinate what goes where – when – and allows everyone to know what’s going on. This helps you accomplish moves so much faster. It can be used to assign tasks, plan out the filming schedule, and communicate any other necessary information to the team as short-hand for other methods.
Overall, a storyboard is an essential tool in the filmmaking process, as it provides a visual representation of the project and helps to plan and coordinate all aspects of the video production process.
Can a storyboard be used for other types of projects, not just films?
Yes, a story board can be used for a wide variety of different types of projects, not just films. In fact, the concept of a story board originated in the field of animation, where it was used to plan out the action and timing of each frame. Since then, story boards have been used in a variety of other fields, including advertising, software development, and even architecture and product design.
In general, a story board can be useful for any type of project that involves visual elements, such as images, videos, or other media. It can be used to plan out the structure and layout of the project, to coordinate the efforts of the team, and to communicate ideas and make any necessary changes.
Overall, while story boards are commonly used in the film industry, they can be useful for a wide range of different types of projects, not just films.
What are some tips for making a good storyboard?
Here are some tips for making a good storyboard:
- Start by gathering all the necessary information: Before you begin creating your storyboard, make sure you have all the necessary information, including the script, notes, and any other relevant materials. This will ensure that you have all the information you need to create a complete and accurate storyboard.
- Plan out the overall structure of the storyboard: Decide on the overall structure of the storyboard, dividing it into sections or scenes and arranging them in the desired order. This will help to ensure that the storyboard has a clear, cohesive structure and that all necessary shots are included.
- Use images to represent each shot: A storyboard should be a visual representation of the project, so make sure to include images or sketches to represent each shot or scene. These images can be hand-drawn or created using digital tools, and should be as detailed or simple as necessary to accurately represent the shot.
- Include notes and other details: Along with the images, include notes or other information to help explain the action, dialogue, and other elements of each shot or scene. This can include things like character movements, camera angles, and any special effects or other details that need to be included.
- Review and revise the storyboard: After you have completed the storyboard, take the time to review it and make any necessary changes. This can involve making changes to the images, notes, or other elements, or adding additional information as needed. You may also want to share the storyboard with the team or others involved in the project to get feedback and make any necessary revisions.
Overall, making a good storyboard involves planning out the overall structure of the project, using images to represent each shot, and including notes and other details to help explain the action and other elements of the project. It may also involve reviewing and revising the storyboard to ensure it accurately represents the project and includes all necessary elements.
How do you present a storyboard to a team or client?
When presenting a storyboard to a team or client, it’s important to clearly and effectively communicate the ideas and concepts it represents. Here are some tips for presenting a storyboard:
- Start by explaining the purpose and goal of the storyboard: Before you begin presenting the storyboard, take a moment to explain why it was created and what it is meant to accomplish. This can help to set the context and give the team or client a better understanding of what the storyboard represents.
- Use clear, concise language: When presenting the storyboard, use clear, concise language to explain each shot or scene. Avoid using technical jargon or complex terms, and focus on explaining the action and other key elements of the project in simple, easy-to-understand language.
- Use visuals to enhance your presentation: In addition to explaining the storyboard, consider using visuals to help illustrate your points and make the presentation more engaging. This could involve showing examples of the images or sketches included in the storyboard, or using other visual aids to help explain the action and other elements of the project.
- Encourage feedback and discussion: During the presentation, be open to feedback and discussion from the team or client. Encourage them to ask questions and share their thoughts on the storyboard, and be prepared to make any necessary changes or revisions based on their feedback.
- Follow up with any necessary changes or revisions: After the presentation, make any necessary changes or revisions to the storyboard based on the feedback you received. Be sure to communicate these changes to the team or client, and make sure everyone is on the same page about the final version of the storyboard.
Overall, presenting a storyboard to a team or client involves explaining the purpose and goal of the storyboard, using clear language and visuals to enhance your presentation, and encouraging feedback and discussion. It may also involve making any necessary changes or revisions based on the feedback you receive.
Free Printable Storyboard Template from www.ProvidFilms.com
BONUS SECTION: All About Vertical Video Storyboards!!!
People may have a number of questions about vertical video storyboards, including:
- What is a vertical video storyboard?
- Why are vertical video storyboards used?
- How do you create a vertical video storyboard?
- What are the differences between horizontal and vertical video storyboards?
- Are there any best practices or tips for creating a vertical video storyboard?
Overall, a vertical video storyboard is a type of storyboard that is specifically designed for vertical videos, which is a format where the height of the video is greater than its width. They are used to plan out and visualize the structure and content of a vertical video – just like a regular storyboard, and can be created using the same general process as a traditional storyboard. The main difference between horizontal and vertical is simply the orientation of the images, with vertical storyboarding using images that are oriented vertically rather than horizontally. There are no specific best practices or tips for creating a vertical rather than traditional, as the process is similar to creating a traditional storyboard.
Why are vertical video storyboards used?
The use of vertical video has become increasingly popular in recent years, particularly with the rise of mobile devices and social media platforms that support this format. As a result, vertical storyboards are often used to plan out the structure and content of videos that will be viewed specifically on mobile devices with content shared on social media.
How do you create a vertical storyboard template?
It’s essentially the same process as a traditional storyboard with the exception of the orientation. It is easiest to download a vertical storyboard template from somewhere like www.providfilms.com/storyboard-template to get started by simply printing a PDF.
What are the differences between horizontal and vertical video storyboards?
Besides the orientation, nothing.
Are there any best practices or tips for creating a vertical video storyboard?
While there are no specific best practices or tips for creating vertical (compared to horizontal) storyboards, there are some general principles that can help you create a high-quality storyboard for any type of project. These principles include:
- Start by gathering all the necessary information: Before you begin creating your storyboard, make sure you have all the necessary information, including the script, notes, and any other relevant materials. This will ensure that you have all the information you need to create a complete and accurate storyboard.
- Plan out the overall structure of the storyboard: Decide on the overall structure of the storyboard, dividing it into sections or scenes and arranging them in the desired order. This will help to ensure that the storyboard has a clear, cohesive structure and that all necessary shots are included.
- Use images to represent each shot: A storyboard should be a visual representation of the project, so make sure to include images or sketches to represent each shot or scene. These images can be hand-drawn or created using digital tools, and should be as detailed or simple as necessary to accurately represent the shot.
- Include notes and other details: Along with the images, include notes or other information to help explain the action, dialogue, and other elements of each shot or scene. This can include things like character movements, camera angles, and any special effects or other details that need to be included.
- Review and revise the storyboard: After you have completed the storyboard, take the time to review it and make any necessary changes. This can involve making changes to the images, notes, or other elements, or adding additional information as needed. You may also want to share the storyboard with the team or others involved in the project to get feedback and make any necessary revisions.
Overall, these principles can help you create a high-quality storyboard for any type of project, including a vertical video storyboard. The specific details may vary depending on the needs of the project, but these general principles can help you create a well-structured, effective storyboard.